Create a Report Scheduler task
An important concept to understand when using Cimpl's Scheduler is that of access type where data selection is concerned. For example, when Myself is selected, the report will show only data that you (or the person you are emulating) can access. Different selections for data will show with different access types.
There are two types of access for scheduling reports:
- Schedule My Reports: With this type of access, you can create scheduled reports based on your own data only. Every user role in Cimpl has this access (i.e., Employee, Manager, MACD, and Admin roles).
- Schedule Others’ Reports: With this type of access, you can create scheduled reports with the data available to you or to other users. Only the MACD/Admin roles have this access.
Note: You cannot stop a scheduled task from sending. You can delete the task, but there is no process to “stop” scheduled report or a scheduled send invoice.
Create a Report Scheduler Task for Myself:
- Click Reports on the main menu.
- Select the report you want to create a task for.
-
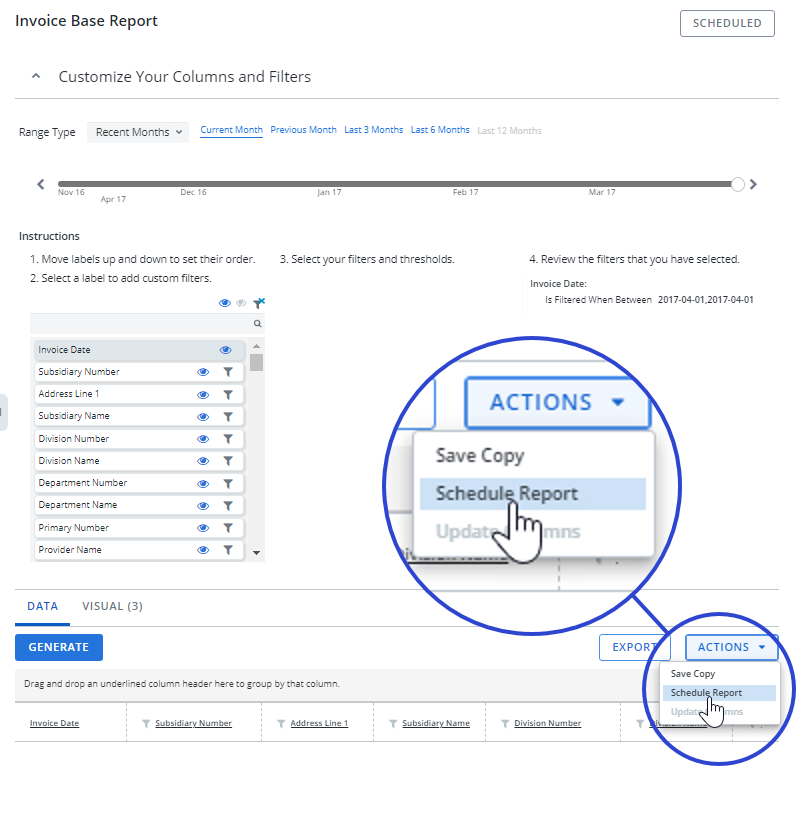
Click Actions in the Data pane.
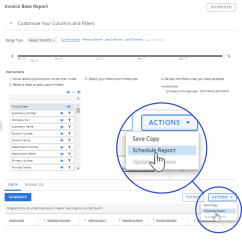
- Select Schedule Report. The Report Scheduler opens a blank Report Scheduler Task form.
-
In the Definition section, select Myself.
- Enter a Task Name. Tasks must have unique names.
- For Schedule Type:
- If you select Recurring:
Select a Start Date.
Note: Do not schedule a report to run or send on the same day you are creating the task. You must select a future date.
- Select a Time Interval.
For Frequency, select Monthly or Weekly.
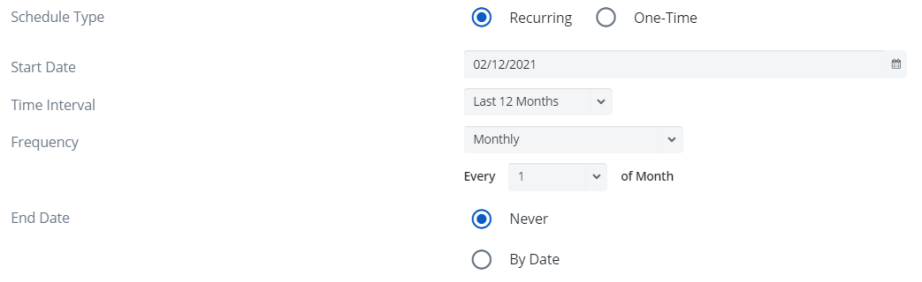
- Select the Day of the Month or the Day of the Week.
- Select an End Date.
- If you select One-time, select the Schedule Date.
- If you select Recurring:
- Scroll to the Message section.
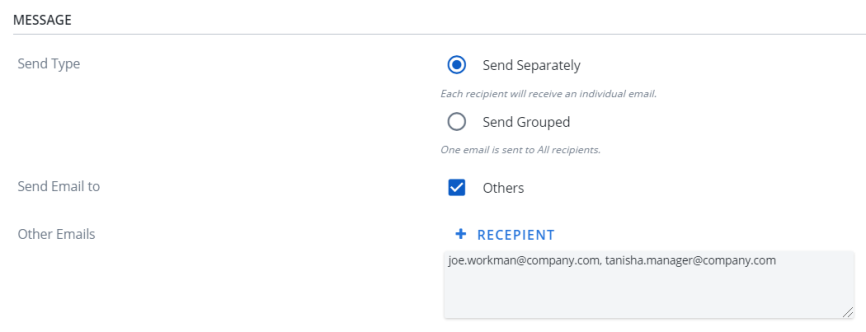
- For Send Type, select one of the following:
Send Separately. Each recipient will receive an individual email.
OR
- Send Grouped. One email is sent to ALL recipients.
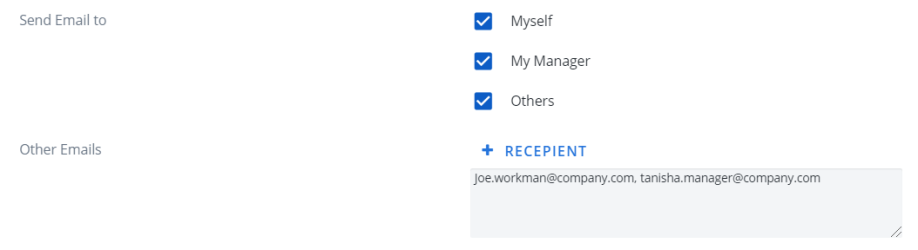
- For Send Email to, select one or more of the following:
- Myself
- My Manager
- Others
- If you selected Others:
Enter the additional email addresses separated by a comma.
OR
Click + Recipients and select recipients from the address book.
Note: There is no limit to the number of recipients.
-
To include graphs, select Include Visual(s).
-
If you selected to include graphs, select the Visual Format.
- Check the Acknowledgment statement.
- Click Apply. The task is now scheduled.
Create a Report Scheduler Task for Others:
- Click Reports on the main menu.
- Select the report you want to create a task for.
-
Click Actions in the Data pane. A drop down menu opens.
- Click Schedule Report. The Report Scheduler opens a blank Report Scheduler Task.
-
In the Definition section, select Others.
- Enter a Task Name. Tasks must have unique names.
- For Data Segregation:
- If you select None, the report will show data adjusted by filters and parameters set in the Reports Center.
If you select Owner-based, the report will show data adjusted by the filters and parameters set in the Reports Center with further restrictions based on the viewing privileges of the recipient.
Note: The option you select here will determine what is available in the Message section.
- For Schedule Type:
- If you select Recurring:
Select a Start Date.
Note: You must select a future date. Do not schedule a report to run or send on the same day you are creating the task.
- Select a Time Interval.
- For Frequency, select Monthly or Weekly
- Select the Day of the Month or the Day of the Week.
- Select an End Date.
- If you selectOne-time, select the Schedule Date.
- If you select Recurring:
- Scroll to Message section.
- If you selected None for Data Segregation:
- Select Send Type.
- Select Others. A recipients text box opens.
Enter additional email addressed separated by a comma.
OR
Click + Recipients and select recipients from the Address book.
Note: There is no limit to the number of recipients.
-
If you selected Owner-Based for Data Segregation:
-
For Send Email to, select one or both options.
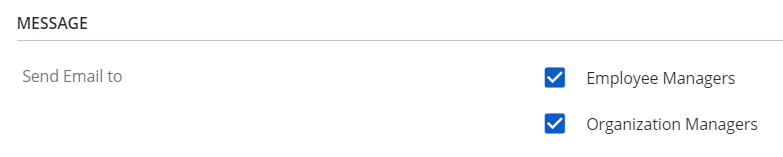
-
- To include graphs with the email, select Include Visuals.
- If you selected to include graphs, select the Visual Format.
- Check the Acknowledgment statement.
- Click Apply. The task is now scheduled.